Clutch and Flywheel have Arrived

So I held out hope that a miracle would happen that the S10 I owned before, and this new Chevy transmission would magically work together.  That was very wishful thinking.  Now I have a new problem.

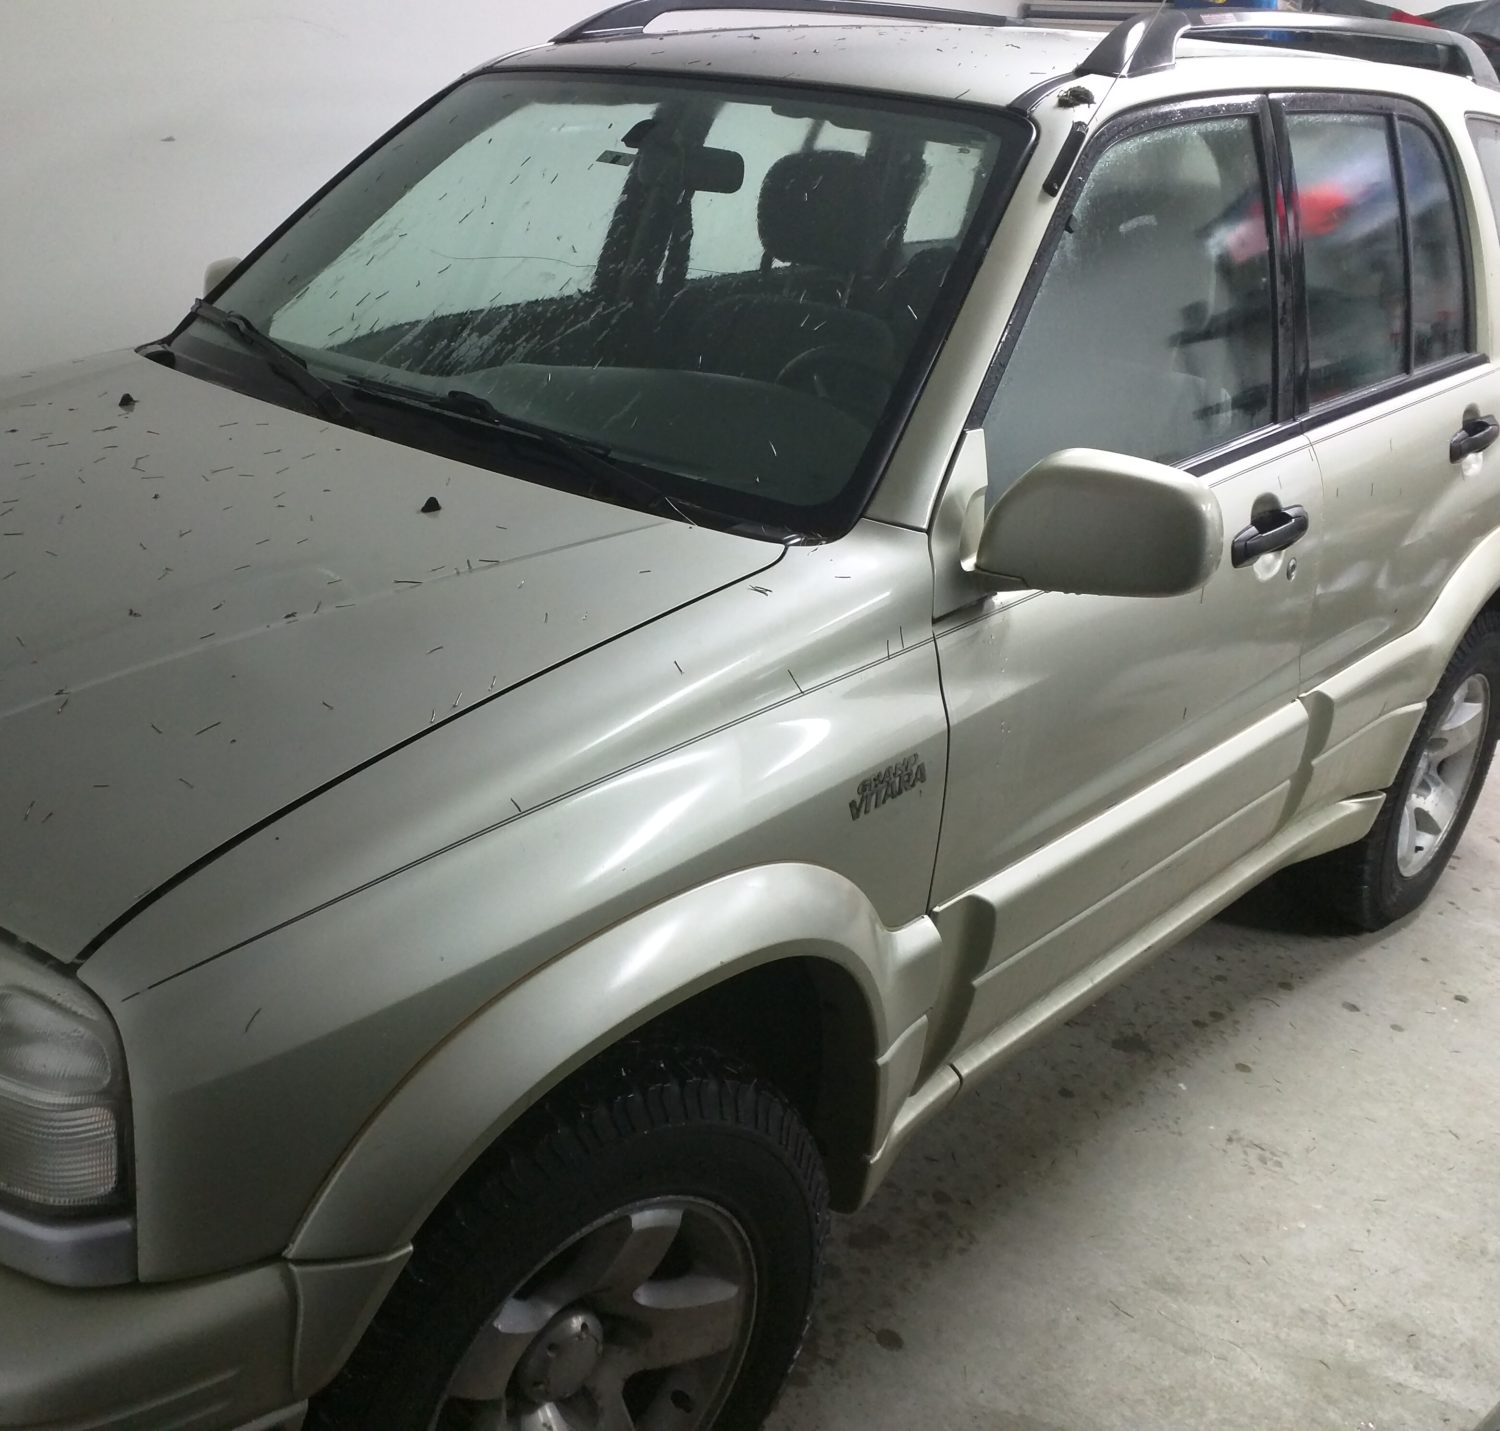
I have a Suzuki… and this is a Chevy transmission.  I went ahead with it as it was 2 wheel drive, and that saves space under the car as well as a lot of weight.  The problem is I’m in the same boat as I was before with the bell housing not having a custom made plate, and now that I have the clutch I have a problem that there isn’t a ready made mount for the flywheel either!  Then to add insult to injury, the driveshaft is too short to reach my dif.  ARG!

But I have hope.  Near the end of the week I’ll be heading to the auto wreckers, and I have a list of bell housings I can choose from that will bolt onto this one, and with the flywheel from that vehicle I’ll make it all work…. I hope.  Then the driveshaft… I need to find one that is 9 inches longer.  Here is hoping!

Bike Installation

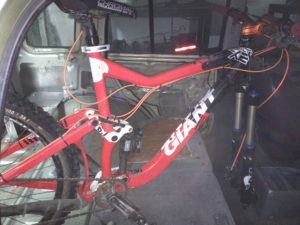
So… I took a bit of time off doing some other things and did one of my major “wants” on this car.   I needed the ability to store my bike, locked very well, in the car.  This was proving to be a challenge.  I bought a lock that goes on the front fork when you take the tire off, but I didn’t want to take the rear tire off to put the bike in the car.  The SUV wasn’t quite long enough, and the forks on my bike were too tall to stand on the back of the seats…  so I improvised.

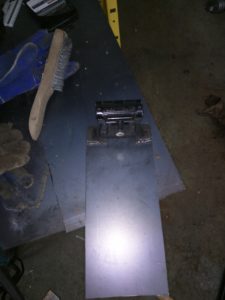
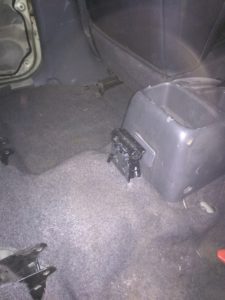
I ended up putting the fork lock onto the top of the driveshaft “bump” and in the center of the car.  The handlebars are too wide to go on either side.  Once that was decided, some welding happened onto a thick piece of steel and the parts were installed.

On top of that… I needed the rear of the bike to be safe so I welded 2 hooks into the side of the frame which will stick out of the plastic siding.  From there, a big chain will run through the rear of the bike to make sure it’s safe.  Looks pretty good!

More Storage Space…

Well, I’m waiting for the clutch and flywheel and it’s Christmas break so I’m trying to find things to do. The original plan was to paint the outside of the vehicle at this time of the year, but the weather is not cooperating and I cannot keep the shop warm enough when it’s below 0 C outside… so installation and modification it is!

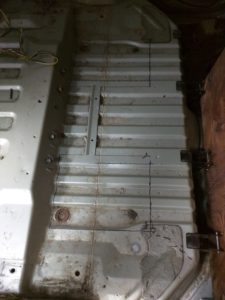
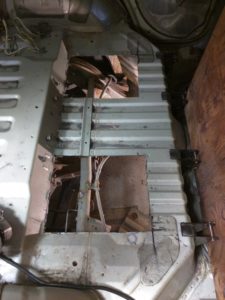
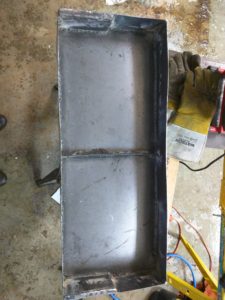
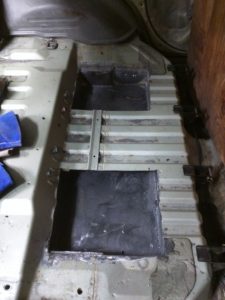
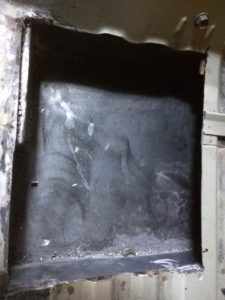
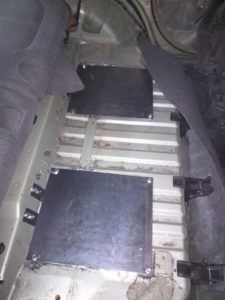
I decided we need more storage, and I can gain some nice space under the rear seats. This means cutting a hold under the seats, installing a new box that is 4 inches deep and welding it back in place.  It took a few days and a lot of grinding and welding (which I’m learning as we go), but it looks pretty good in the end!  If you’re a welder by trade (or just better than I am) you’ll see it’s not so pretty… but it works!  Filled the holes will spray foam to keep them dry and they will be sprayed inside and out with a rubberized “paint” to deaden noise and stop rusting.

Pretty happy with how it turned out, and it gave me practice for setting up my battery boxes.  With the seats down as they will be most of the time, you don’t even know that under you has been changed at all!


New Transmission Arrives!

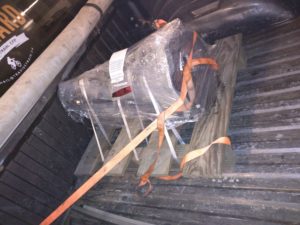
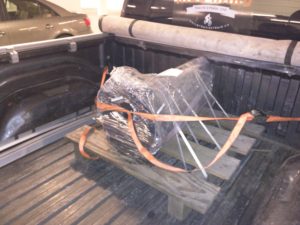
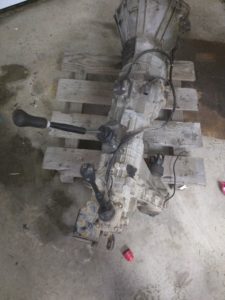
I finally got the notification that my PO Box had the transmission!  Woohoo.  I went to pick it up, and it turned out that the clutch, flywheel and driveshaft were missing.  Arg.

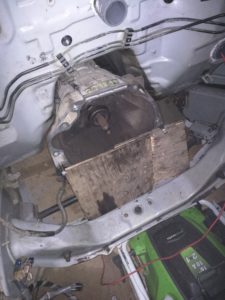
Either way I took it home and needed to see if it fit, and it fits like a glove.  Only the bolts for the master cylinder for the clutch needed to be changed as this one needed a shorter bolt.  Also, it weighs probably 50-70 lbs less than the existing transmission and transfer case, so that is a BIG plus.

Now I needed a beer to celebrate!  We are one step closer… but it’s -5 C here right now, and the beer fridge is keeping the beer much too cold.  Damn first world problems.

A Revelation on the Drivetrain

I had an epiphany the other day.  It went something like this… “if you’re having trouble with the transmission, why don’t you change the transmission.” This may not be a revelation to everyone, but it was a new way of thinking about the problem for me.

So I booted up the computer and searched around.  If I was going to swap out the transmission, it was going to be a 2 wheel drive, standard, and it had to come from either a 1.6 litre engine or a 2 litre engine.  Also, since I was changing the whole thing, I expanded the search to include the Chevy Tracker of the same year as the measurements were very similar (even though the guide book says they aren’t compatible).

Enter Ebay motors… Nothing.  Craigslist, nothing.  Every wrecker in the area…  nothing.

So I called up the local wrecker that has the ability to search all of Canada and the US, 1 turned up… 3+ Hours away in Washington.  It wasn’t perfect as it was the 2 litre from a Chevy tracker, but it’ll have to do!  So I called him up and they’ll pull it and ship it to the US border (well my PO box there), and I can go pick it up. total cost is $450 USD shipped.  I should be able to make that mostly back by selling the existing transfer case, transmission and clutch.  Here’s hoping!

Once I get it I can get the specs and buy a simple bolt on transmission adaptor and coupling from Canev (http://www.canev.com/index.php).  That’s much easier and far cheaper than shipping to California.

Installing the On Board Charger

Well my charger is old, but still allows for 30 amps and that is more than enough for my application.

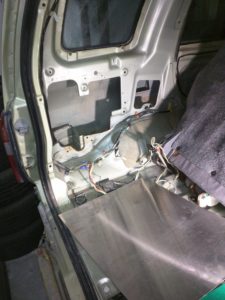
I wanted the charger to be as out of the way as possible, so I decided to bury it in the wall in the rear of the Vitara.  This means I needed  to cut some bracing out and build a box to put it on top.  I’ll also need to build air intakes to make sure it doesn’t overheat when it’s running.  So I spent the day (after fiberglassing of course) cutting all the steel to go in place. The box needs to be lifted about 16 cm to clear the wheel well.  When I was creating the box, I decided to give it a cubby hole where we could store some things like a first aid kit and simple tools so they don’t crash around the outside.

I’ll add some more pics once it’s installed as I need to weld it together first.

charging-mount-box

12 Volt Wiring Is Starting!

So in between the fibreglassing that is coming along and I’m just putting the final touches on the rear door and bumper I decided to tackle a whole new piece of the puzzle… wiring.

This car will be a daily driver and I’ve had a few comforts over the years that I want to continue with, and heated, power seats is one of them!

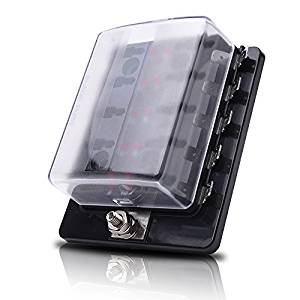
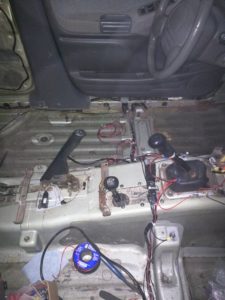
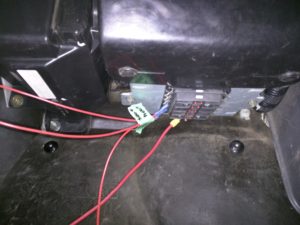
New wire reels in hand I went to work.  I needed a way to install a number of fuses as the seats that I picked up from the wrecker (1999 Jeep Cherokee Seats) don’t have any.  I found a fuse box on Amazon (10-Way LED Illuminated Automotive Blade Fuse Holder Box Fuse Block with Cover), that I installed on the passenger side under the dash (there isn’t a lot of room under the dash on this car).  The plan is to hook it up to the ignition source so when the vehicle is turned on, I’ll get power to everything connected.  The beauty of this is that when a fuze is blown it lights up!

fuse-box

Then I started wiring.  The switches haven’t arrived yet (ordered from China), but I ran the wires anyways.  One set for the power seats and one for the butt warmers.  All run through the fuse box in a neat and simple manor.

Feels good to get something like this accomplished, even though it’s small!

butt-warmer-wiring installed-fuse-box

Heater Core!

I’ve been getting frustrated with not getting anywhere for a while, so I decided to get started.  I had the old heater core from the S10, and although it’s not that powerful, it’ll be enough to take the edge off.

So I grabbed the factory service manual and got started ripping the dash off.
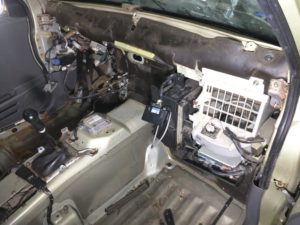
dash-board-nothing

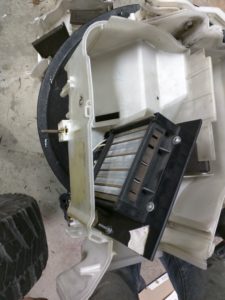
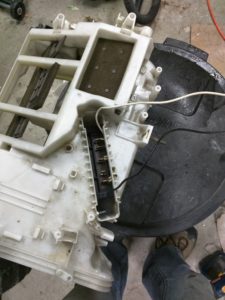
Never had one of these apart… and the FSM told me to disconnect all the A/C lines… well that wasn’t going to happen.  That’s one of those “must haves” in my build. Lucky enough though, with the engine out and loosening all the bolts to the A/C Condenser I was able to slide it far enough out of the way to get the heater box off.  Then I took the existing core out, and slid in the electric one.  I fabbed using some 1/8 inch plastic that I had pulled from the heater box of the S10. Measured it up and slid into place.  Put a few bolts in it so it won’t move and voila!
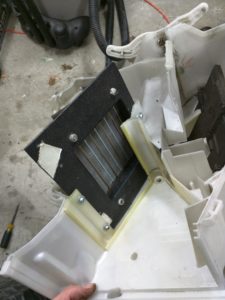
heater-core-1 heater-core-2 heater-core-3

One thing that I didn’t take pictures of unfortunately, is that I have expanded the heating system for a future purchase of a diesel heater.  This was something that was mentioned to me from a guy who is a member of SEVA (http://www.seattleeva.org/wp/ – and I don’t use his name only because I haven’t sought permission).  He has been super helpful to a rookie like myself.  The heating system is a Diesel heater similar to the ones that truckers use for sleeping in their cabs so they don’t need to run their big engine all night. They are relatively expensive ($500 USD) but solve a few problems EV’s have.  1 problem is your heater can burn up to 30% of your pack if it’s on all the time – and range is one of my biggest problems as I drive a lot!  2 is defrosting can be an issue if you don’t run your A/C. This heater solves that.

So because of the cost, I decided to do some research and found this website (http://300mpg.org/imiev-heater-installation/) and decided to cut a hole in my heater box and install an outlet into the engine bay.  Most of the time these heaters are used they are put inside the cab and the exhaust  and fuel lines are run outside.  I don’t have room in the car and I don’t want it sitting out so I will put it in the engine bay.  There will be a direct line into the cab, through the fire wall which has now been cut and sealed so hopefully I won’t have to pull the dash again.  When I’m ready I can just hook up the heater and away we go!

Last thing I did with the dash off is cut a 40 mm hole in the firewall in an inconspicuous spot and put a set of PVC piping in.  This allows me to seal a firewall hole, but have a simple, safe solution for running wires through the firewall.  There will be a lot of wires, and I don’t want them getting cut on the steel or having the drill a lot of holes.

Once all that was done, I put the dash back on with the help of a buddy.
More Drivetrain Pondering

Still no solution on the drivetrain.

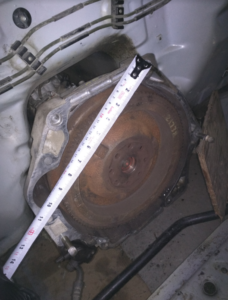
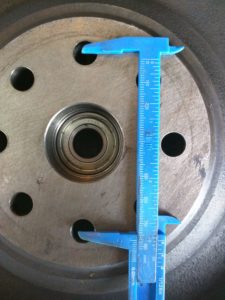
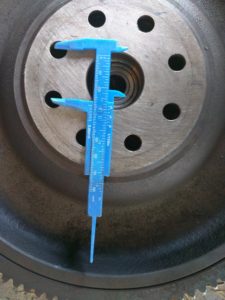
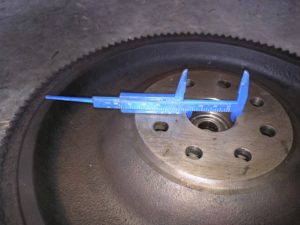
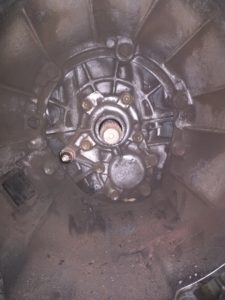
With this being a custom build (ie this transmission has never been done before) I’m still struggling with the connection of the motor to the flywheel.  I’ve done a lot of reading and really thought about doing it myself, but I want it to work and not destroy my bearings/motor/transmission etc.

I have no problem making the bell-housing adaptor, but the coupling is a problem.  I almost sprung on a Taper-lock as some before me have suggested, but the precision that is needed to adapt it for my use scared me, and getting a machinist aboard isn’t something I really wanted to do.

I went to Canev (http://www.canev.com/index.php) where Randy is one of the most helpful guys I’ve ever met and tried to adapt an existing coupling but none fit.

Looks like my only choice at this time is to ship my entire transmission to EVWest (http://evwest.com/catalog/) and have them custom build it for me. This will be in the range of $1600-2000 CAD.  At least then it’ll be done right.

Excuse the ghetto caliper.  My precise one wasn’t available at the time.

flywheel-measurement-2 flywheel-measurement-3 flywheel-measurement

Fibreglassing

In my infinite wisdom I bit off a bit more than I can chew.

Years ago I fixed up the fibreglass of a boat and it went well… thought I could do a bigger project this time.

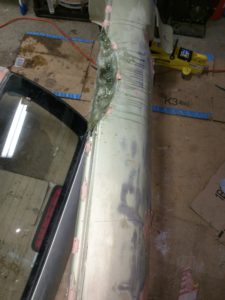
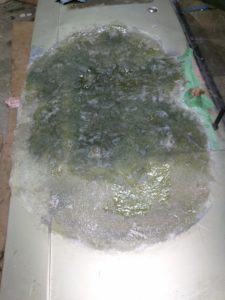
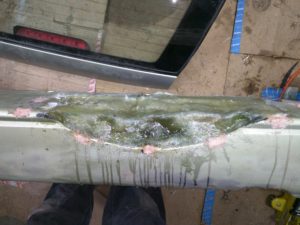
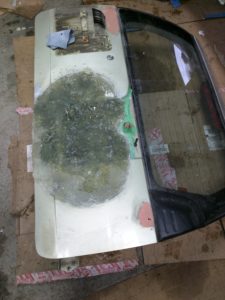
I decided that I had a few problems.  I didn’t want the spare tire on the back of the car, but the look without it was terrible.  The bumper had a divot in it and the rear door was in bad shape. The previous owner had backed into a wall with the tire, and when you left it on you couldn’t really tell the damage.  It had dented the door pretty bad and it needed to be fixed up. So why not fibreglass the whole thing to look like the tire wasn’t there ever!

I’ve only just begun and learned a few things I did wrong (there are many) but I’m determined to make this work!

rear-bumper-fibreglassing rear-door-fibreglassing-2 rear-door-fibreglassing-2 rear-door-fibreglassing